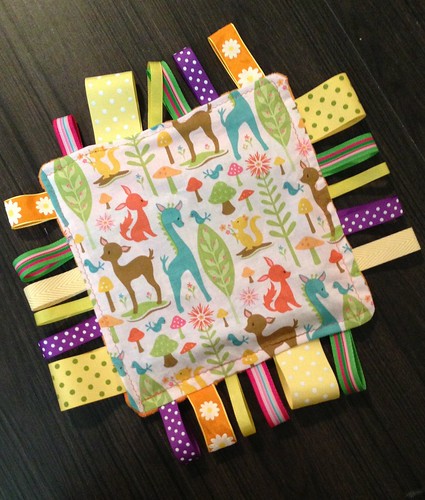
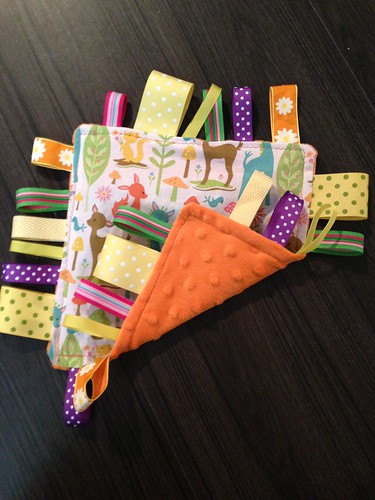
I love making tag blankets for babies because babies LOVE tag blankets. I was given one when I was pregnant with Molly and it was the best present. I also made one for my niece and her Mom loved it so much she asked me to make one for a baby shower she is going to. I decided to use a tutorial this time because I wanted to add crinkle and I had no idea how to do that. Also I almost always pin out the blanket and ribbons wrong and then have to spend a ton of time re-doing my work. This time, with my trusty tutorial, I was able to whip up a tag blanket is less than an hour.

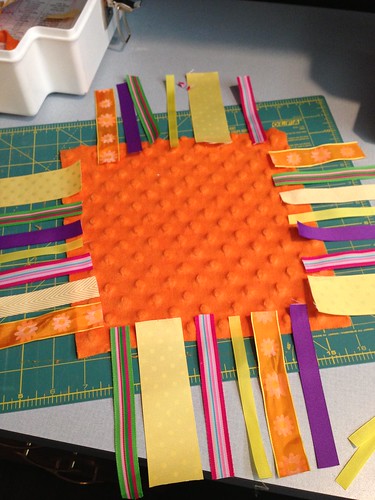
I cut out two 10 x 10 squares of fabric - one minky and one cotton. I then laid out my ribbons on the right side of my minky fabric before laying my cotton fabric on top, right-side down.

Then I pinned a piece of diaper wipe plastic cover into the center (I did wash and dry off the plastic first).

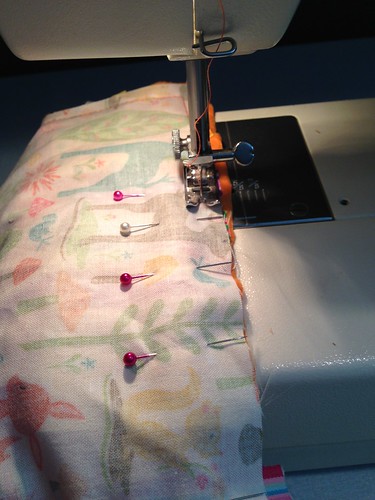
Next I carefully sewed around the edges of the fabric, leaving a 2-inch opening on one side before turning over the fabric. Then I sewed around the edges with a zig-zag stitch.

And with that, I had a very ribbon-y tag blanket for a baby! I like a lot of ribbons but your blanket may have more or less. I also think it might be fun to add in a pacifier clip if you know the baby will be using a pacifier. This is a great and fast gift for any baby in your life!

No comments:
Post a Comment