I've seen a few of these around the blog and thought it would be fun to interview the boys I live with about my hobby.
Interview Victim #1 - Kato the Kat
Interview Victim #2 - Scott
ReeBeckiSupergirl: Hey! Hey! Look me in the eyes. Are you looking? OK, I’m going to interview you for my blog. OK? Hey over here! You'll like it, it's about knitting.
Kato the Kat: Meow?
Scott: *raises eyebrow* really?
ReeBeckiSupergirl: What is your favorite thing about my knitting?
Scott: *laughs* Hmmmm, it keeps you busy!
Kato the Kat: Meow! MEOW! meow!
ReeBeckiSupergirl: What is your least favorite thing about my knitting?
Scott: That you get to do it whenever and I don't get to do my hobbies where ever, like you can knit in the car and I can't. And for the record, I don't care if you have a giant stash!
Kato the Kat: *nothing* meow!
ReeBeckiSupergirl: What is something I have knitted that you recall as being great?
Scott: I just remember the green grass things because they seemed like you did them in no time. Like I turned around and they were there.
Kato the Kat: Meow! My toy!
ReeBeckiSupergrl: Do you think knitters have an expensive hobby?
Scott: Hmmm, no
ReeBeckiSupergirl: Do you have any hobbies?
Scott: None that I want to admit
Kato the Kat: Meow!
ReeBeckiSupergirl: What are your hobbies?
Scott: I plead the fifth.
Kato the Kat: Begging for Food!
ReeBeckiSupergirl: If we compared money spent on hobbies, who would win?
Scott: I don't think mine is that expensive. About $30 a month? You probably buy more yarn than that.
ReeBeckiSupergirl: Has my knitting in public ever embarrassed you?
Scott: I wouldn't call it embarrassed. I guess there have been some inappropriate times like in a bar. Knitting at Brower's (a local bar) just seems weird and wrong!
Kato the Kat: Public?
ReeBeckiSupergirl: Do you know my favorite kind of yarn?
Scott: *shakes head* the pink kind.
Kato the Kat: Do you know mine?
ReeBeckiSupergirl: What are my favorite two colors?
Scott: Pink and Brown
Kato the Kat: Meow! Grey and White!
ReeBeckiSupergirl: Can you name another knit blog?
Scott: Ravelry!
Kato the Kat: KatKnits!
ReeBeckiSupergirl: Do you mind that I want to go to yarn stores everywhere we go?
Scott: Yes
ReeBeckiSupergirl: Do you understand the importance of a swatch?
Scott: No idea! Sounds like a rule!
Kato the Kat: Meow?
ReeBeckiSupergirl: Do you read my blog?
Scott: Occasionally
Kato the Kat: Blog?
ReeBeckiSupergirl: Do you think the house would be cleaner if I didn’t knit?
Scott: I think the house is clean as it is. I think if you didn't you would obsessively clean. I could see you with your toothbrush scraping tile in patterns. It would be wrong.
Kato the Kat: Meow! You might vacuum MORE if you didn't knit, don't stop knitting!
ReeBeckiSupergirl: Is there anything you would like to add in closing?
Scott: I'm tired. I want to go to bed.
Kato the Kat: Meow, meow, meow! I want treats! MMMMMEEEEEOOOOOOOOOOOOOOOWWWWWWWWW!
Monday, August 25, 2008
Thursday, August 21, 2008
Brother Socks
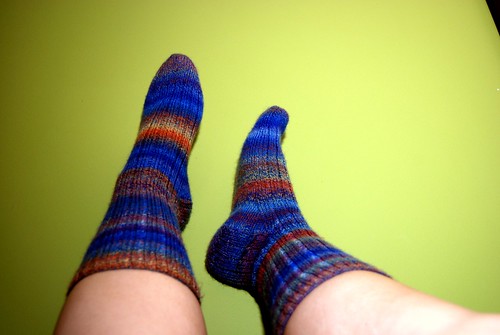
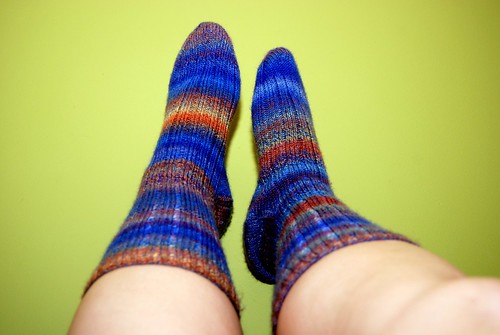
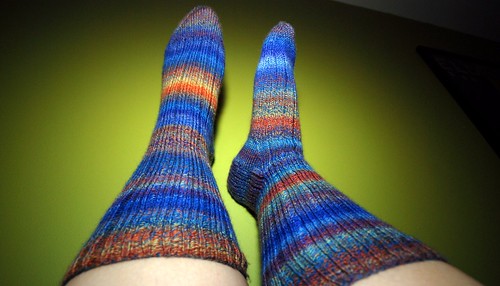
I've been working hard on my Christmas Knitting goals and last month I finished my brother's socks out of Trekking XXL. I wasn't that interested in the yarn before I knit with it but now I LOVE it!
I used the Lichen Ribbed Sock pattern by Nancy Bush for a men's US9 foot.
Raveled
Wednesday, August 20, 2008
Charade Update
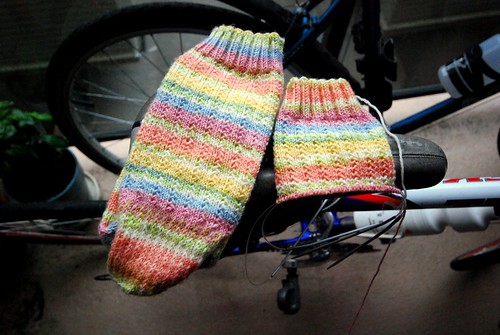
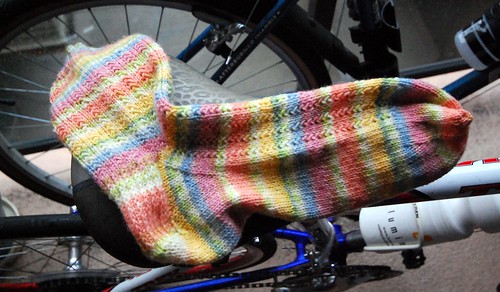
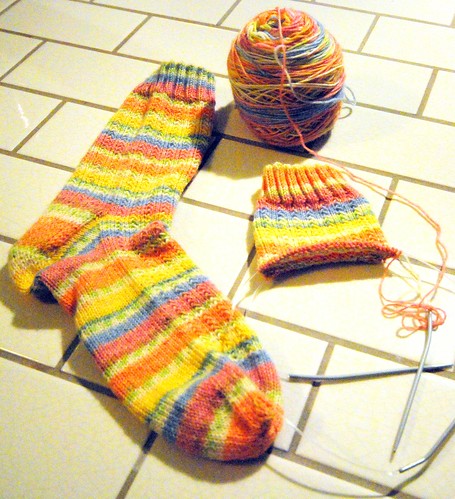
I'm powering through my Christmas sock knitting and am really pleased with the current pair. I'm knitting the Charade Sock Pattern and loving each stitch. It's a wonderful pattern with a beautiful stitch.
While on this sock binge, I have decided that sock blockers are completely necessary so I've ordered some from KnitPicks and hope to have them early next week.
The color is true in the first two photos but a bit bright in this last one. I wanted to show what the socks looked like outside but couldn't find a dry place. Boo!
Tuesday, August 19, 2008
Updating my 101 in 1001
I just updated my 101 in 1001 blog and have narrowed down the five items I want to complete on the list by the end of September.
1. Complete the Master Hand Knitting, Level 1 program (by the end of August)
2. Knit two socks at once on two circular needles
3. Take a Pilates class
4. Replace bathroom vanity lights with CFLs
5. Go toEgypt The Grand Canyon
Yes, yes some of these you have seen before but I'm really getting these all done by the end of September!
1. Complete the Master Hand Knitting, Level 1 program (by the end of August)
2. Knit two socks at once on two circular needles
3. Take a Pilates class
4. Replace bathroom vanity lights with CFLs
5. Go to
Yes, yes some of these you have seen before but I'm really getting these all done by the end of September!
Wednesday, August 13, 2008
Making Pasta, the Old World Way
I'm having some friends over for dinner and I've been really wanting to make fresh pasta with my pasta machine (also Scott says that I have to use all the stuff in the kitchen or that it needs to go so I'm using it!).
I used a recipe from Jamie Oliver (recipe listed at the end). It's simple and has few ingredients but let me tell you, making pasta is not easy work!
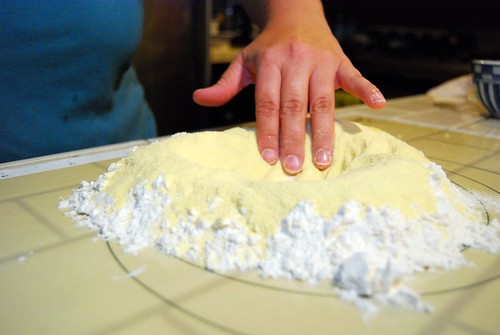
I started by mixing the dough with my hands but I'm thinking of using my mixer and the kneading utensils next time. I'm not sure if this is a poor decision or not but I'm willing to experiment.
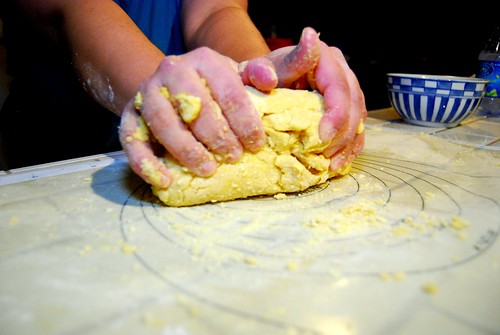
Then I began to knead the bread until it was smooth and silky. The dough was hard to knead and took a lot of effort to make silky though!
Next you wrap the pasta in plastic wrap and place it in the fridge to rest for bit.
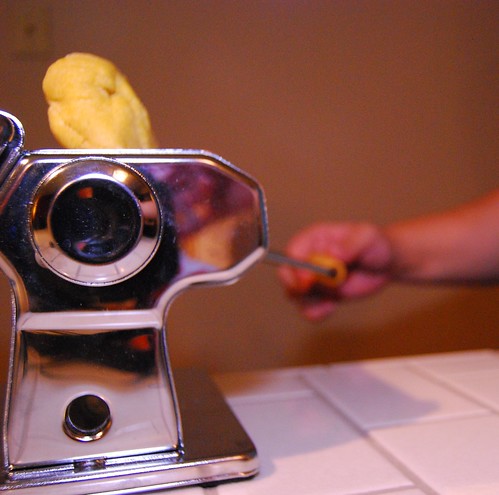
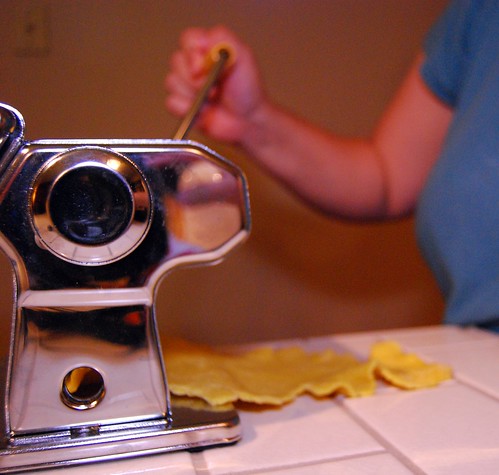
I separated out the giant ball into four smaller balls and began running the dough through the pasta machine starting with setting one and then running the dough through again and increasing the settings up to 7. In between running the dough through the machine, I would fold and turn the dough.
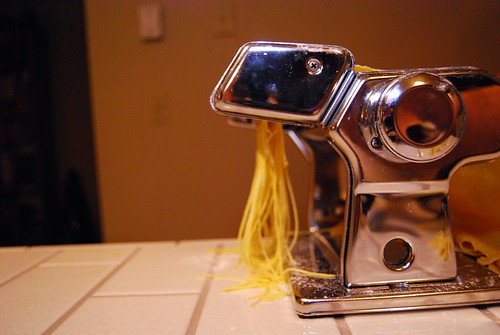
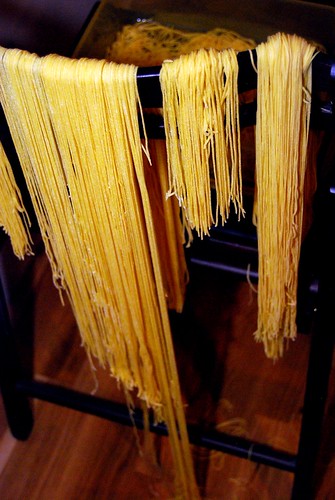
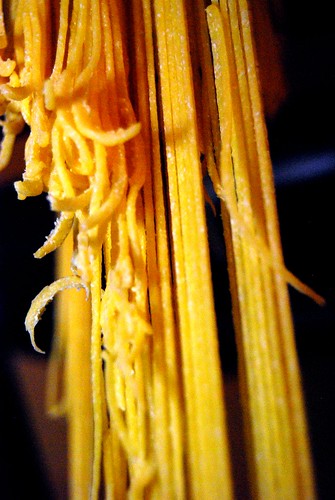
Once the dough was thin enough, I then put it through the machine with the angel hair pasta attachment.
I draped the pasta over the back of a clean chair but one can always use a pasta drying rack too.
Ingredients
• 1 2/3 cup bread flour
• 1 2/3 cup semolina flour
• 3 large free range eggs
• 8 egg yolks
Directions
1. Place the flour on a clean surface.
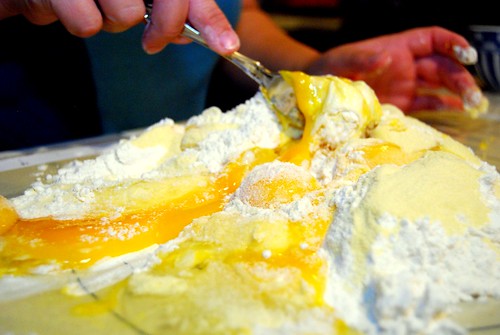
2. Make a well in the center and add the eggs and yolks.
3. Use a fork to break up the eggs then start bringing in the flour.
4. Stir with the fork until you have dough which is easily workable with your hands.
5. Knead well until it becomes smooth, silky and elastic and the surface is clean.
6. Wrap the dough in cling film and let it rest in the fridge for a while.
7. When you are ready to shape the pasta, break the dough into four pieces.
8. Take one ball at a time, flatten it with your hand and run it through the thickest setting on your pasta machine.
9. Fold in half and repeat this several times.
10. Start narrowing down the settings, dusting the dough with flour each time you run it through, stopping when the sheet is 1-2mm thick.
11. When you have a thin sheet, shape as desired.
12. To cook, drop the pasta into boiling water and cook just until al dente-- no more than five minutes and perhaps as little as two minutes, depending on the thickness of the pasta.
13. Store any extra in the fridge for up to half a day or you can dry it and store in airtight containers.
Sunday, August 10, 2008
Cooking Weekend
Whew! It was a busy cooking weekend around here! I think I spent about 75% of my time in the kitchen.
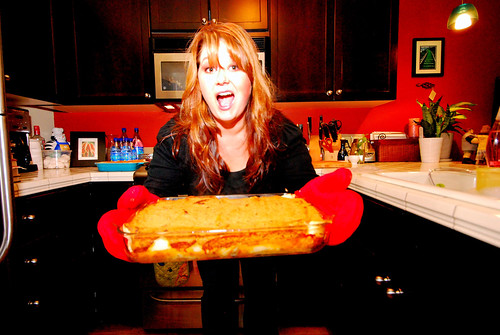
Saturday was the Enchilada Smack Down hosted by my friend, Kristel featuring vegetarian enchilada recipes by me and another friend, Paul.
I served up some Butternut Squash Enchiladas with a Manchamanteles Mole sauce (recipe at the end). The party-goers loved the enchiladas, all the enchiladas!
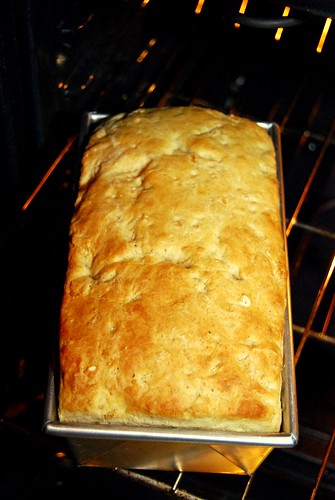
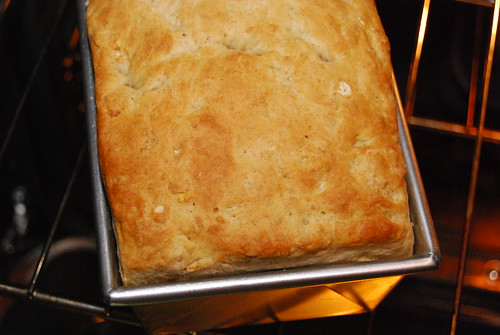
Today I decided to continue the cooking festival by making WHO bread from SouleMama.
This bread was amazingly easy to make and will be added to our food rotation! It's so good!
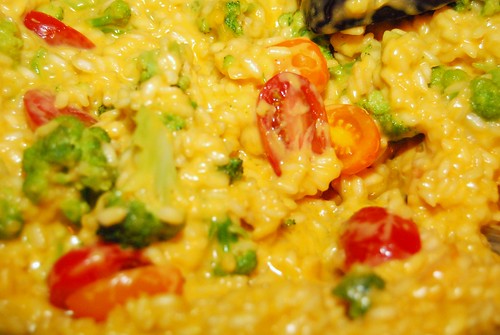
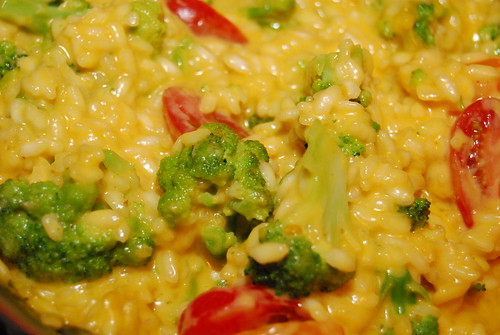
I also made Rarebit Risotto from the Moosewood Restaurant Cookbook, "Simple Suppers" which reminds me of Rarebit Sandwiches.
Butternut Squash Enchiladas with Manchamanteles Mole
Enchilada Filling
½ lb butternut squash, roasted
1 onion, caramelized
2 teaspoons cinnamon
1 teaspoon cumin
2 cups spinach
4 oz cream cheese
4 oz goat cheese
1 cup Monterey Jack Cheese, shredded
1. Roast butternut squash with olive oil, onion, cinnamon and cumin.
2. Sauté spinach
3. Combine Spinach with butternut squash mixture and mix with cream cheese, goat cheese and Monterey Jack Cheese.
Mole Sauce
3 dried ancho chiles
1 summer chili
1 jalapeno
1 medium onion
3 med. Garlic Cloves, unpeeled
3 medium tomatoes
5 almonds, blanched
4 black peppercorns
4 cloves
1 teaspoon fresh oregano
1 teaspoon fresh thyme
1 teaspoon fresh chocolate mint
1 medium cinnamon stick
1. Clean the chilies with a damp cloth, cut them open, remove the stems and seeds, and spread them flat in a large dry frying pan. Roast them until they shrivel and slightly turn color, then soak them in water for up to 20 minutes.
2. In a smaller pan, dry-roast the onion, unpeeled garlic and tomatoes until charred. Remove the garlic cloves and peel them.
3. In another pan, add 1 tablespoon oil and fry the almonds, peppercorns, cloves, oregano, thyme and chocolate mint. Toast the cinnamon stick to slightly release flavor. Discard cinnamon stick.
4. Transfer the chilies with enough water to a blender, process and pass through a sieve. Meanwhile, heat 2 tablespoons of oil in a large pan, add the chili mixture, and let it fry. Blend the rest of the roasted and fried ingredients. Pass through a sieve and add to the chili paste.
5. Simmer the mole, adding stock or water to achieve correct consistency.
Assembling the Enchiladas
1. Fry the tortillas in vegetable oil until limp.
2. Fill each tortilla with butternut squash mixture. Top with mole and cook at 350 for 30 minutes. Cover with aluminum foil.
3. Remove foil and top with Shredded Monterey Jack Cheese. Bake for an additional 10 minutes.
Tuesday, August 05, 2008
Next! Ariana Socks
Monday, August 04, 2008
Green is Delicious!
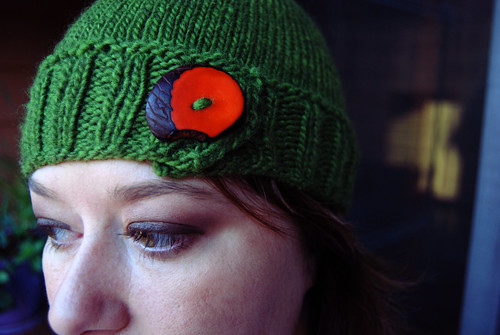
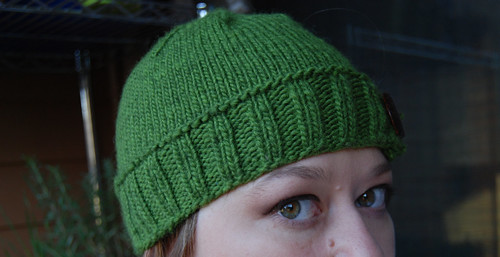
I recently discovered ilikelemons which is a fun knitting blog full of unique knitted items. One of my favorite patterns is the Button Tab Hat. I finished this late last night but knew I had to grab a picture in the early morning light this morning. I got this fun orange button from The Fiber Gallery. It's so unique.
Yarn: Lanaloft Worsted Weight in LL72W - Scottish Hillside
Needle: US 7
Subscribe to:
Posts (Atom)