Showing posts with label Food. Show all posts
Tuesday, October 23, 2018

Super Veggie Sauce

Untitled

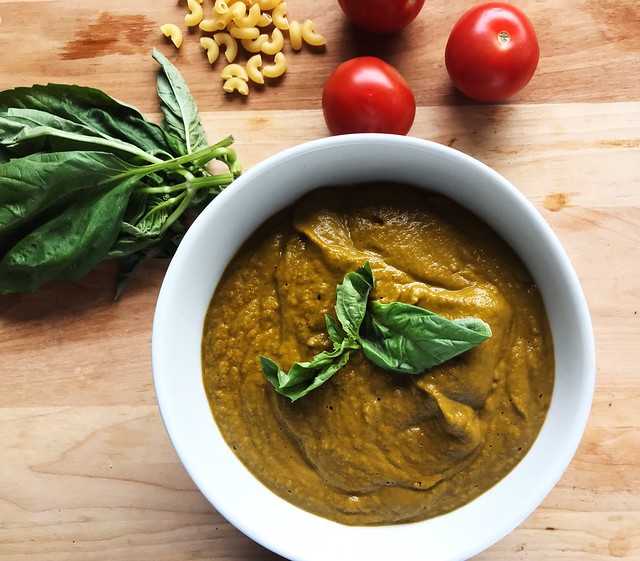
When I first introduced solid food to Molly, I was obsessed with getting enough vegetables into her diet. Along the way I discovered a recipe for a veggie sauce which was packed full of healthy foods. Over the years, Molly has stopped eating it but I crave it and have continued making it for myself. I realized that I've never shared this amazing sauce and am rectifying that today. I usually serve this with pasta but it is also tasty over chicken or in a lasagna dish instead of the traditional bolognese sauce. If making this for a toddler palate, I'd leave out the salt. Adults will need more salt. Also this sauce cook be mixed with a more traditional spaghetti sauce to "sneak" vegetables into your family's diet if you so desire. The sauce on its own isn't very red so mixing with a tomato sauce will give you a richer red color. And lastly, this sauce is can be easily adjusted to most vegetables.
Untitled

Super Veggie Sauce

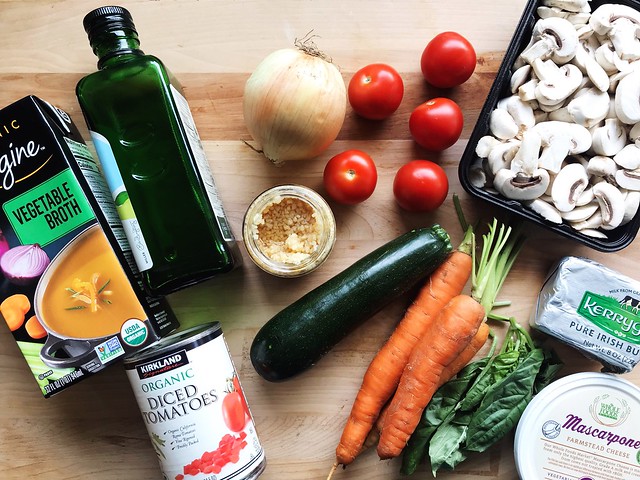
Ingredients

2 tbsp. olive oil
1 small yellow onion, chopped
1 clove garlic, chopped
2 small carrots, peeled and chopped
1 medium zucchini, chopped
3/4 cup chopped white mushrooms
3 plum tomatoes, chopped
1 tbsp. unsalted butter
1 (15-oz.) can diced tomatoes
1 bunch kale, chopped
1/2 cup vegetable (or chicken) stock
1 tbsp. torn fresh basil leaves
Freshly ground black pepper
salt, to taste
3-4 tbsp. mascarpone cheese (optional)

Directions
  1. Heat olive oil in a large saucepan over medium heat. Add onion and garlic, and saute for 3-4 minutes. Add carrots and saute for 5 minutes. Add zucchini and saute for an additional 2 minutes. Add the mushrooms  and kale. Saute for 2 more minutes. 
  2. Add in fresh tomatoes and butter. Simmer for 2 minutes. Pour in the can of tomatoes with about half of the juice along with vegetable stock and basil. Season with salt and pepper to taste. Cover and cook on medium heat for 10 more minutes. 
  3. Once the vegetables are all tender, puree in a blender until smooth. Stir in mascarpone cheese if desired for a slightly creamier sauce. 
Friday, May 12, 2017

Kale Leek Quiche

Untitled

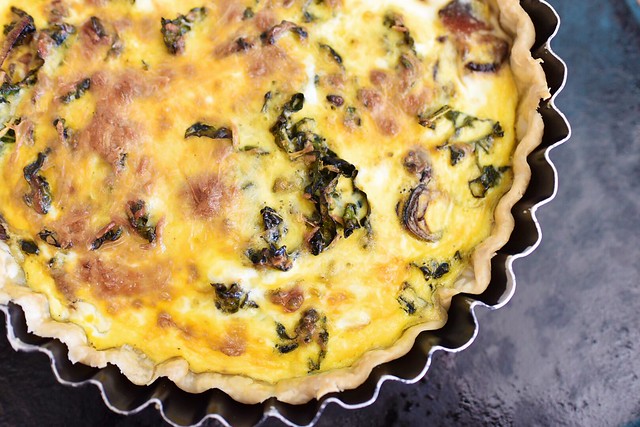
I'm a huge quiche fan. It's an easy dish that uses up all the eggs my backyard chickens lay and is easily made ahead of time so I can enjoy it for lunch throughout the week. While I do enjoy a handmade quiche crust, I also love the time-saving measure of using a pre-made pie crust. I created this particular quiche after receiving some beautiful leeks and kale in my organic produce box. I knew they would be delicious together in an egg dish. Enjoy this quiche at your Mother's Day celebration. Mom will thank you! 


Kale Leek Quiche

by Rebecca Mongrain
Prep Time: 15 minutes
Cook Time: 35 minutes
Ingredients (8 servings)
  • 1 Pre-Made Crust
  • 5 oz lardons bacon, chopped
  • 1 cup sliced leeks
  • 1 cup sliced kale
  • 1/2 cup grated parmesan
  • 4 eggs, plus 2 egg yolks
  • 1 1/4 cups heavy cream
  • 1 tsp salt
  • 1 tsp pepper
Instructions
Preheat oven to 350F.
Place pre-made pie crust in quiche pan.
Fry up bacon and add leeks and kale. Cook until wilted.
Sprinkle bacon, leeks and kale over crust. Spread parmesan cheese on top.
Lightly beat eggs and egg yolks in a medium bowl with heavy cream, salt and pepper. Pour over bacon, leeks, kale and parmesan cheese.
Bake for 30-45 minutes until filling is golden brown. Allow it sit for 10 minutes before serving.
Powered by Recipage

Thursday, March 23, 2017

Easy Peasy Fish Tacos

Untitled

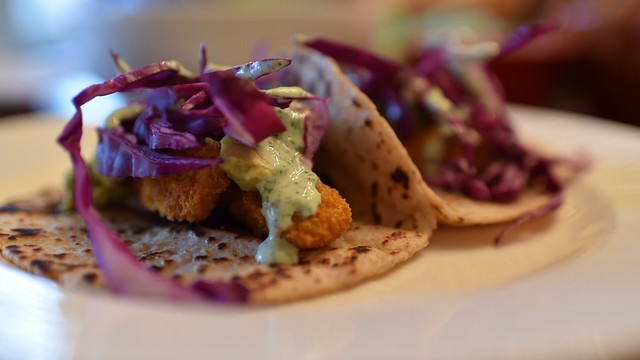
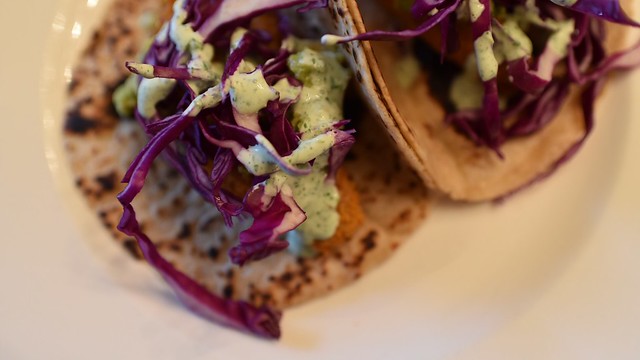
Every Tuesday night in our house is Taco Night. I love tacos and wish that every night could be taco night but the other members of my house voted for Tuesday as taco night. Of course after I introduced these tacos, some picky members of my house asked if we could have them every night and even requested them for lunch several times. The best part, these are the easiest tacos I've made in a long time and even my non-cooking husband can make them. That's a serious win-win in my book!


Untitled

Easy Peasy Fish Tacos

by Rebecca Mongrain
Prep Time: 15 minutes
Cook Time: 15 minutes
Ingredients (4 servings)
  • 1/2 cup plain yogurt
  • 2/3 cup cilantro
  • juice of 1/2 lime1/4 teaspoon ground cumin
  • salt to taste
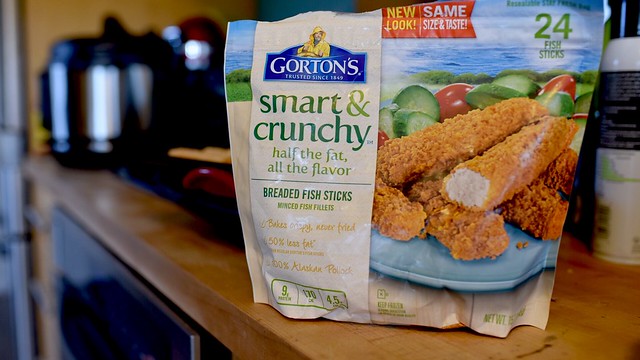
  • 16 frozen fish sticks
  • 8 corn tortillas
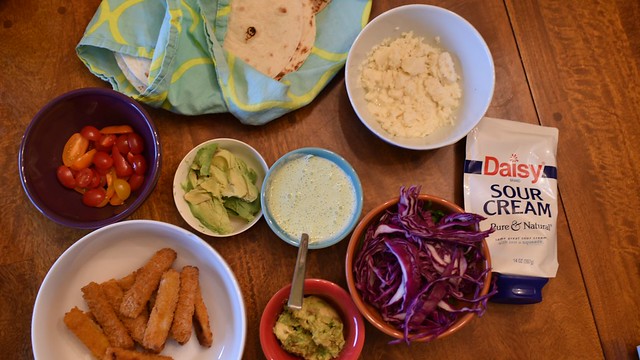
  • Taco Toppings: shredded red cabbage, sliced tomatoes, queso fresco, sour cream and 1 avocado, pitted, peeled and sliced
Instructions
Using a mini food processor, blend together the yogurt, cilantro, lime juice, cumin and salt. Set aside.
Bake the frozen fish sticks according to the package directions.
Using a cast-iron skillet over medium-high heat, cook each tortilla until brown, about 30 seconds per side. Place inside a clean towel to keep warm.
Serve tacos, "pass around" style. We like to put all the ingredients in separate bowls and allow everyone to make their taco per their liking.
Powered by Recipage

Untitled

Untitled
Tuesday, March 14, 2017

Apples! Apples! Apples! Take Back Our Lunch Apples with Opal Apple Bars!

Untitled

Sponsored Post: This post is sponsored by Opal® apples 
but the content and opinions expressed here are my own.

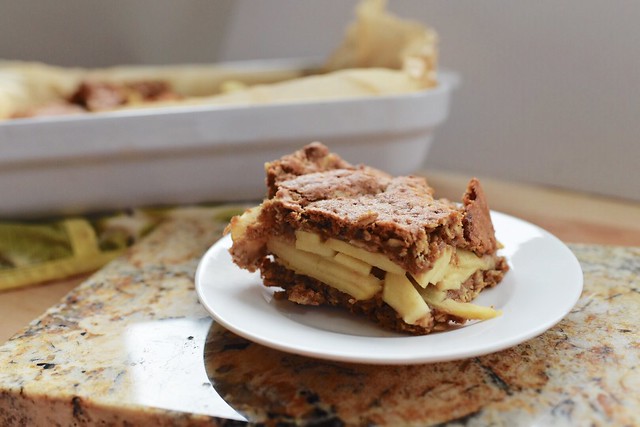
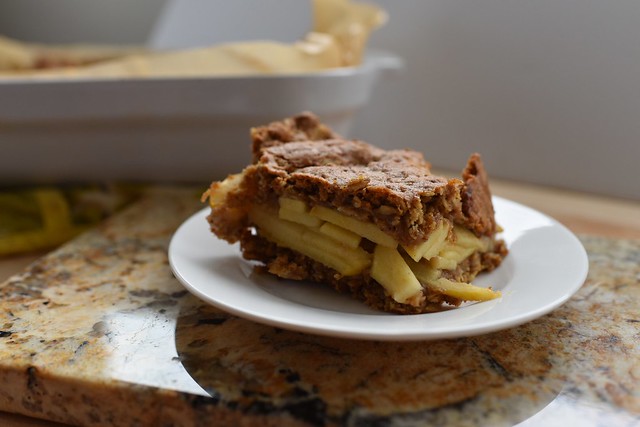
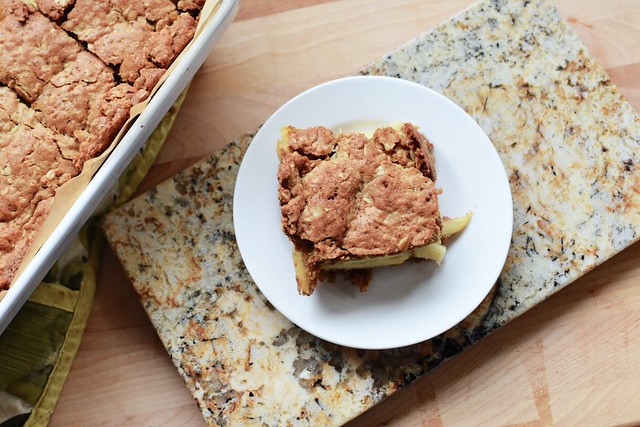
Last month, I shared my love for Opal® Apples along with how great they are for lunches since they don't brown. For my picky kids, this is awesome! We've been munching along on Opal® apples in our house and they are hands down our favorite ones. This week while checking out some new recipes, I stumbled upon a few apple bar recipes which looked perfect for the lunchbox. After making a few tweaks, I came up with a delightfully healthy and yet so sinfully tasting apple bar. I must report that I may have had three of these the first day I made them. Maggie agreed with me and polished off five of them. I wasn't sure there would be any left for the other members of the family but we made them last for breakfast and as a lunchtime treat the next day. 

Untitled

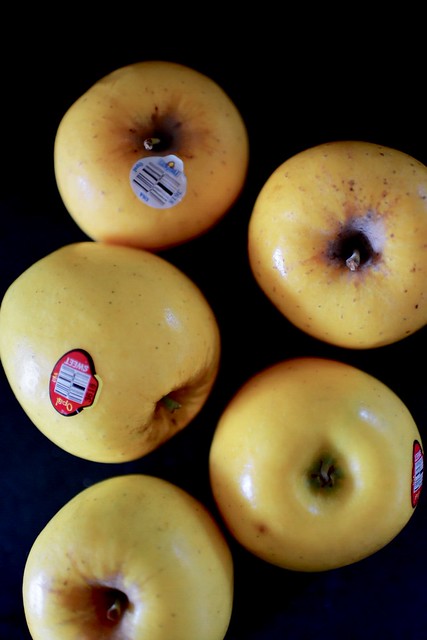
The beautiful appearance of the Opal® Apples which are Non-GMO Project verified along with the crunchy texture and sweet, tangy flavor really shines through in these apple bars. The fact that Opal® Apples are grown right here in Washington State exclusively by Broetje and Congdon Orchards delights me to no end.

Untitled

These bars should keep for about 4-5 days and will be a wonderful treat in your kid's lunchbox. This is one part of lunch they will be sure to eat! 

Corsicana_Mockup3

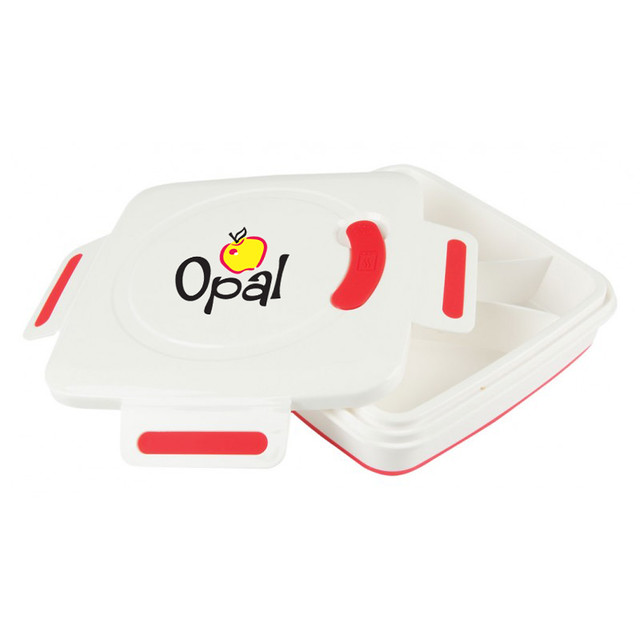
I'm excited to announce that Opal® Apples is sponsoring a give-away of their Opal lodo’d bento lunch box and a sample box of Opals. Leave a comment below on how you like to incorporate apples into your child's (or even your own) lunch for a chance to win! Winners will be announced on Monday, March 20th

Untitled

Opal Apple Bars
by Rebecca Mongrain
Prep Time: 25 minutes
Cook Time: 30 minutes
Ingredients (24 bars)
  • 1 cup all-purpose flour
  • 1 cup whole wheat pastry flour
  • 1 tsp baking soda
  • 1 tsp salt
  • 1 1/2 tsp cinnamon
  • 1/2 tsp nutmeg
  • 1/2 tsp ground cloves
  • 3 cups rolled oats
  • 1 cup light brown sugar
  • 1/3 cup vanilla sugar
  • 2 sticks unsalted butter, melted
  • 2 large eggs
  • 2 tsp almond extract
  • 4 Opal Apples, peeled and sliced into thin slices
Instructions
  1. Preheat oven to 350 F.
  2. Spray a a 9x13-inch baking pan with cooking spray and then line with parchment paper.
  3. In a large bowl, whisk together flour, baking soda, salt, cinnamon, nutmeg and ground cloves. Stir in oats and sugars. Set aside.
  4. In a small bowl, mix together the melted butter and eggs. Stir in the almond extract. Mix liquid into the flour mixture.
  5. Press half the dough into the prepared 9x13 pan and set aside.
  6. Using two 15-inch sheets of parchment paper (wax paper works fine too), place the remaining half of the dough between the two sheets. Roll out the dough into a 9x13 rectangle. Place on a cookie sheet indie the freezer for a few minutes.
  7. Place the sliced apples onto the 9x13 pan and slightly overlap each slice until the pan is covered.
  8. Remove the dough from the freezer and press on top of the apple slices. Press around the edges to seal the dough.
  9. Bake for 30-35 minutes until the center comes out clean. Allow the bars to cool in the pan before lifting the parchment paper out. Cut into squares and enjoy in the lunchbox!
Powered by Recipage

Sponsored Post: This post is sponsored by Opal® apples 
but the content and opinions expressed here are my own.
Monday, January 09, 2017

Peanut Butter and Jelly Drumsticks


PB&J drums

Sports season is here! OK for some people, sports season started in September but at my house, we're not big sports people, except when our local home team (Go Hawks!) starts looking like they might be headed to the Super Bowl. Then my husband starts watching parts of a football game and soon, he's watching the entire game and shushing the kids. After awhile, I begin to wonder what the fuss is and there you go, Sports Season is here! What I never forget about is sports food which I dearly love. I, especially love chicken drumsticks so when I was at Target last week with Maggie, using my Cartwheel app which I'm seriously addicted to and noticed that I could get 5% off Jif and Smucker's products, a lightbulb went off in my head. 

TargetMags

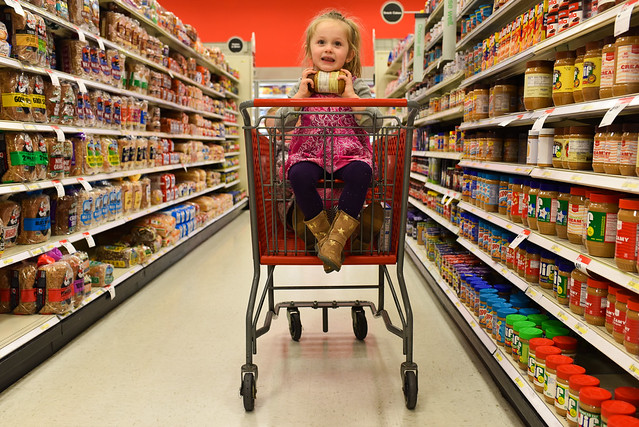
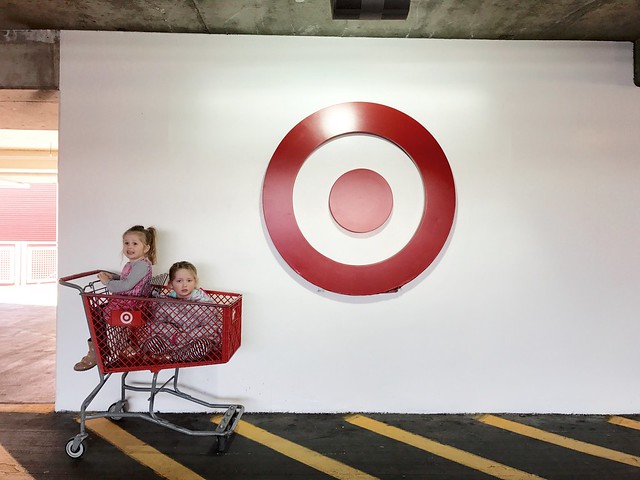
Maggie and I spent a lot of time last week getting the family back into the groove after the holidays and she was more than happy to accompany me to Target while her sister was at school. 


Targetjam

We loaded up the cart with Jif and Smucker's products along with some other essentials. We may have headed to Target twice last week which thrilled Molly since she got to accompany me on our second trip. 


Untitled

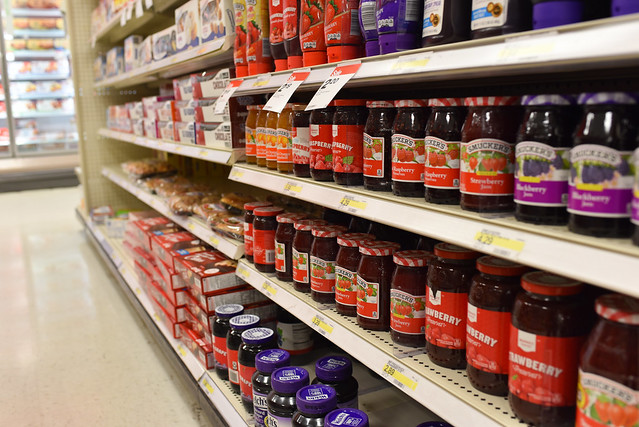
I don't shop in many stores in person but Target is my one true love and now that I've discovered the Cartwheel app, it's almost as if they recognized our mutual affection for each other. But I digress, I was in the peanut butter and jelly aisle where I believe most of our family's food budget goes when my handy app let me know that I could save 5% on Jif and Smucker's products. I may have swooped a few right into my basket while Maggie was grabbing for some bread. Then I remembered sports season and its entry into my home and my love of sports food. I decided right then and there to attempt combining some of my family's favorite flavors with sports food and I came up with the best sports food ever. 


Untitled

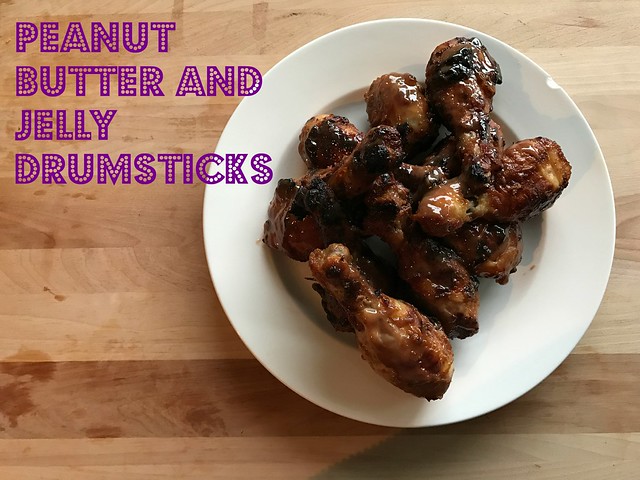
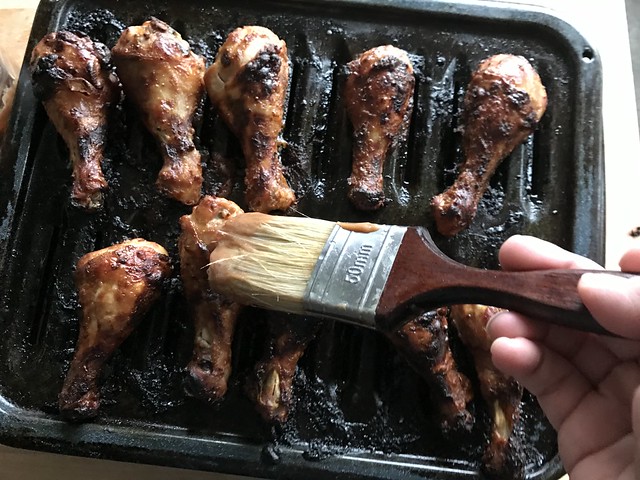
Oh yes, I made Peanut Butter and Jelly Drumsticks and oh they are so good! The kids swear they taste just like a PB&J while I think they taste better. 


Untitled


Peanut Butter and Jelly Drumsticks
by Rebecca Mongrain
Prep Time: 1 hour +
Cook Time: 50 minutes
Ingredients (12 drumsticks)
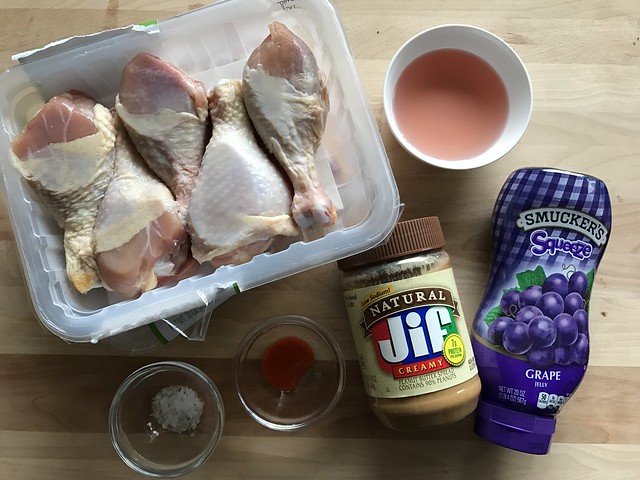
  • 10 ounces Smucker's Squeeze Grape Jelly
  • 1/2 cup Jif Natural Creamy Peanut Butter
  • 1/4 cup red wine vinegar
  • 1/2 teaspoon hot pepper sauce
  • 1/2 teaspoon salt
  • 12 chicken drumsticks
  • Cilantro for garnish
Instructions
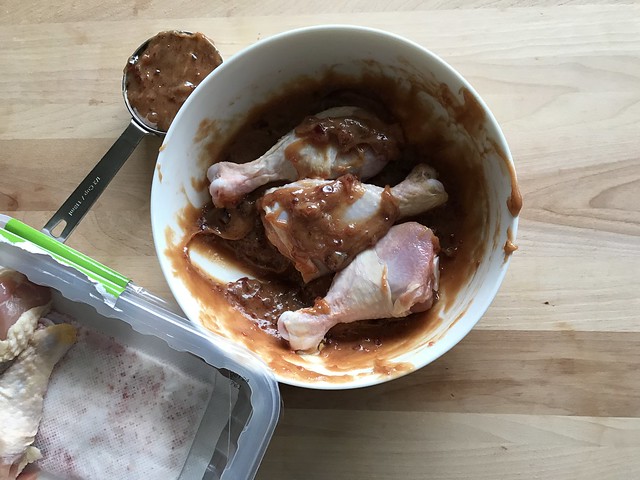
In a large bowl, combine the Smucker's Squeeze Grape Jelly, Jif Natural Creamy Peanut Butter, red wine vinegar, hot pepper sauce and salt to make the marinade.
Reserve 1/2 cup of the marinade and set aside.
Place the chicken drumsticks in a ziplock bag along with the marinade. Refrigerate for at least an hour or overnight.
Preheat oven to 375 degrees.
Arrange the drumsticks on a greased broiler pan or a greased rack over a foil-lined baking sheet. Bake for 30 minutes. Turn over each piece and baste with more sauce from the marinade bag (not the reserved sauce). Bake for another 20 minutes or until browned.
Once the chicken is finished baking, baste with the reserved sauce. Serve with cilantro as a garnish.
Powered by Recipage
Untitled

Don't forget to visit the Target Cartwheel landing page to save when purchasing your Smucker’s and Jif products.
Tuesday, September 13, 2016

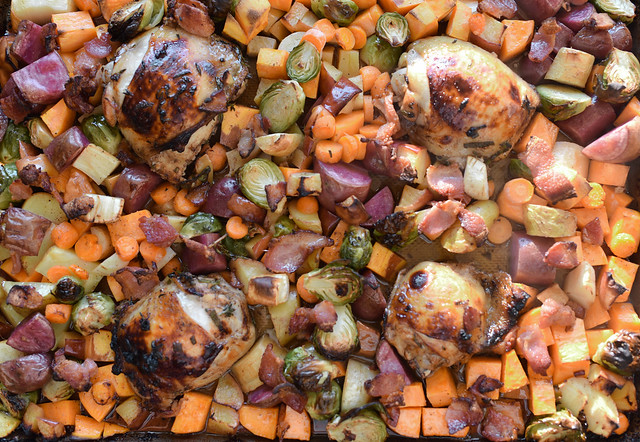
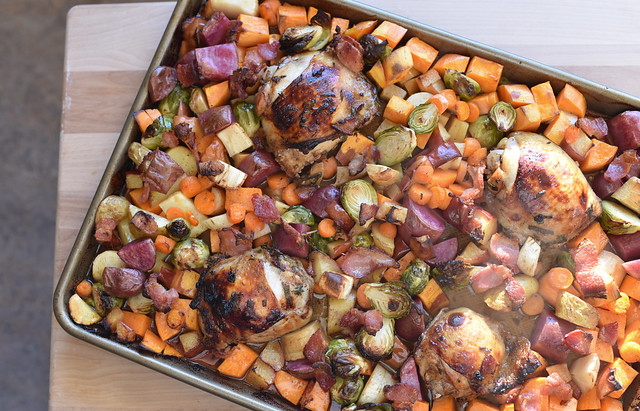
One Sheet Chicken Roasted Vegetable Fall Dinner


FFComfortChicken3

Fall is definitely in the air as we continue to find our new routine. The girls started ballet class tonight and it was a whirlwind of energy at the studio. Molly's class is a comfortable size while Maggie's is insanely full. After walking back from class (which always takes forever even though it is 6 blocks), I put together a One Sheet Chicken Roasted Vegetable Fall Dinner that I have to share with you. I have been refocusing on the family meal and this one brought us right back to The New Comfort Food using Foster Farms Simply Raised chicken thighs and delicious roasted veggies. I may have especially liked that this dish used one pan to cook. My definition of The New Comfort Food - A modern interpretation of a classic comfort food dish, implying “comfort,” but with a modern, healthy twist. It’s about balance rather than indulgence.
FFComfortChicken

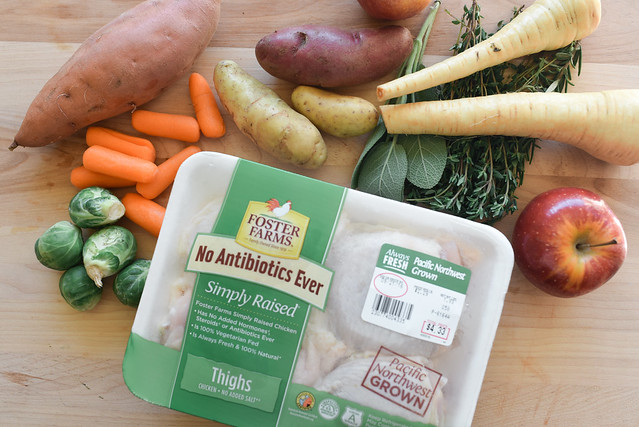
I also love that I can serve my family Foster Farms Simply Raised fresh chicken which is locally grown in California and the Pacific Northwest with no antibiotics ever. It’s fresh, all natural chicken that is American Humane Certified and fed a 100% vegetarian diet, without any added hormones or steroids. Foster Farms has been family-owned since its founding 1939, Foster Farms has been committed to producing only the highest-quality poultry for you and your family.
It’s also local, partnering with local family farms in the Pacific Northwest (depending on consumer location) so you can be rest assured the chicken you’re buying is delivered fresh within 48 hours or less.

FFComfortChicken1

I'm excited to get back to making healthy comfort food for my family and sharing it with all of you. This Foster Farms chicken recipe is so good and I'm positive I'll see many of you making it later this week. Remember to check out The New Comfort Food and find some other great recipes on Foster Farm's siteFoster Farms is also offering a $1.00 off coupon to ReeBeckiSupergirl Readers! 

FFComfortChicken4

One Sheet Chicken Roasted Vegetable Fall Dinner
by Rebecca Mongrain
Prep Time: 10 minutes
Cook Time: 30 minutes
Ingredients (4-5 servings)
  • 4 (6 - 7 oz) bone-in, skin on Foster Farms Simply Raised chicken thighs
  • 4 Tbsp olive oil, divided
  • 1 1/2 Tbsp balsamic vinegar
  • 5 cloves garlic, minced
  • 1 Tbsp each minced fresh thyme, sage and rosemary, plus more for serving
  • Salt and freshly ground black pepper
  • 2 sweet potatoes, peeled and chopped into 3/4-inch cubes
  • 1/2 lb new potatoes, cut into halves
  • 1 lb Brussels sprouts, sliced into halves
  • 2 apples, cored and sliced into half moons about 3/4-inch thick
  • 2 parsnips
  • 6 carrots, cut into half-moon shapes
  • 5 slices bacon, chopped into 1-inch pieces
Instructions
Preheat oven to 450 degrees.
Combine 2 Tbsp olive oil, balsamic vinegar, garlic and herbs into a gallon size resealable bag, add chicken, season with salt and pepper before sealing the bag and massaging the oil mixture over the chicken. Set aside to rest.
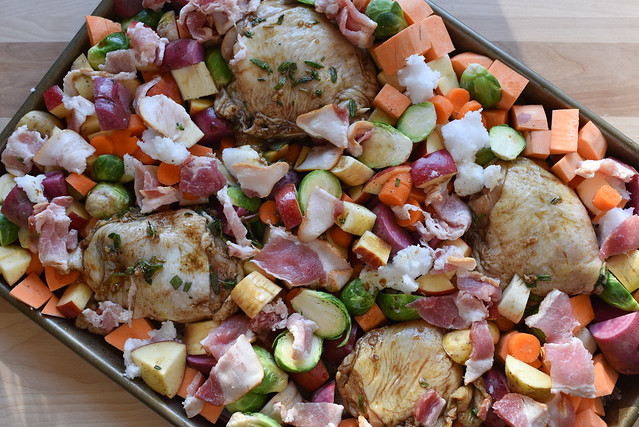
Prepare vegetables. Then place sweet potato, potatoes, Brussels sprouts, apples, parsnips and carrots large rimmed baking sheet. Drizzle the rest of the olive oil over the vegetables and evenly coat. Season with salt and pepper. Place chicken into the vegetable mixture and pour the liquid from the bag onto the baking sheet. Sprinkle bacon evenly over mixture.
Roast in preheated oven until chicken and veggies are golden brown, about 30 minutes. Sprinkle with more herbs and serve immediately.
Powered by Recipage


Tuesday, June 21, 2016

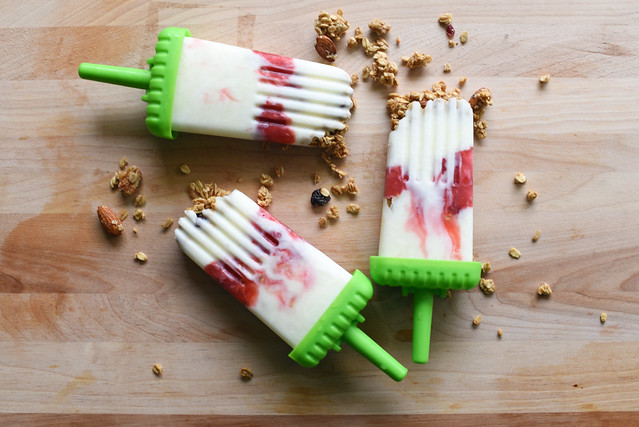
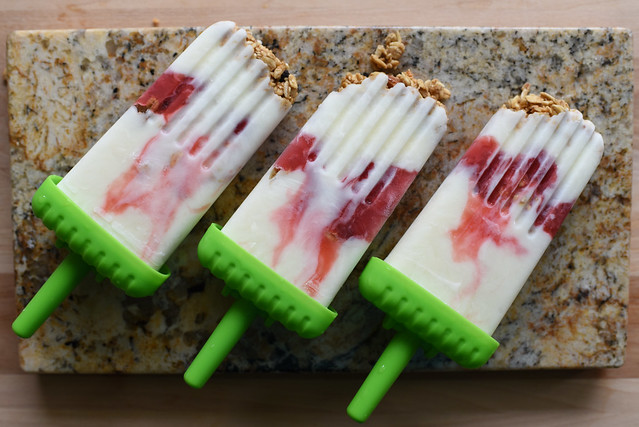
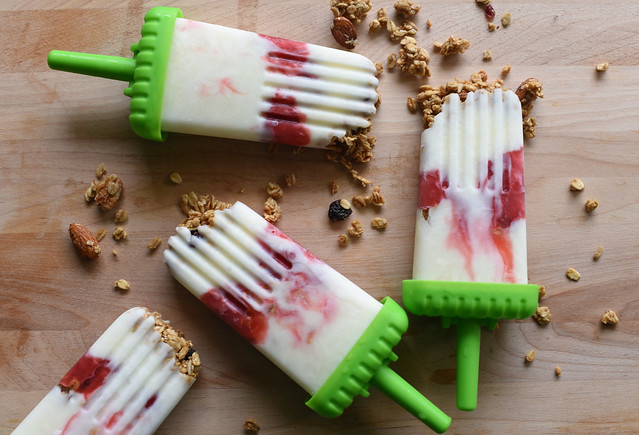
Sweet Cherry Granola Yogurt Popsicles

Sweet Cherry Granola Yogurt Popsicles

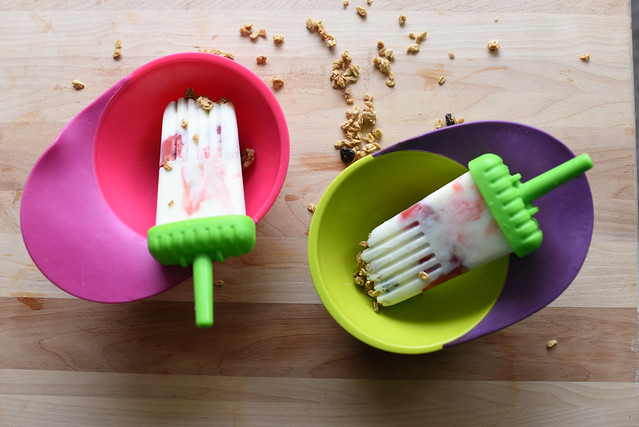
Now that Summer is here, Maggie is obsessed with popsicles. Every morning, she wakes up and heads to the kitchen where she points at the freezer and says, "Popsicle?" I decided to grant her popsicle dreams by making her one that could double as breakfast. And it was easier than I thought it would be to make.


Sweet Cherry Granola Yogurt Popsicles


Mix up the cherry pie filling with fresh fruit, blueberry pie filling or even more granola. This is breakfast disguised as a frozen treat. It's also a great way to celebrate Popsicle Week


Sweet Cherry Granola Yogurt Popsicles


Sweet Cherry Granola Yogurt Popsicles

Prep Time: 6 Minutes
Makes: 6 Popsicles

Ingredients

  • 1/4 cup granola
  • 1/2 cup cherry pie filling
  • 1/8 cup honey
  • 1 1/2 cup greek yogurt
Directions
  1. Whip the honey and greek yogurt together in a small bowl.
  2. Using popsicle molds, place a tablespoon of granola in the bottom of the molds.
  3. Spoon the honey/yogurt mixture over the granola and alternate with the pie filling for a nice swirled effect.
  4. Insert the sticks and freeze until solid, at least 4 hours.

Sweet Cherry Granola Yogurt Popsicles

Find more Popsicle recipes at the Popsicle Week Blog!
Thursday, June 09, 2016

Summer Goodness - Pico de Gallo

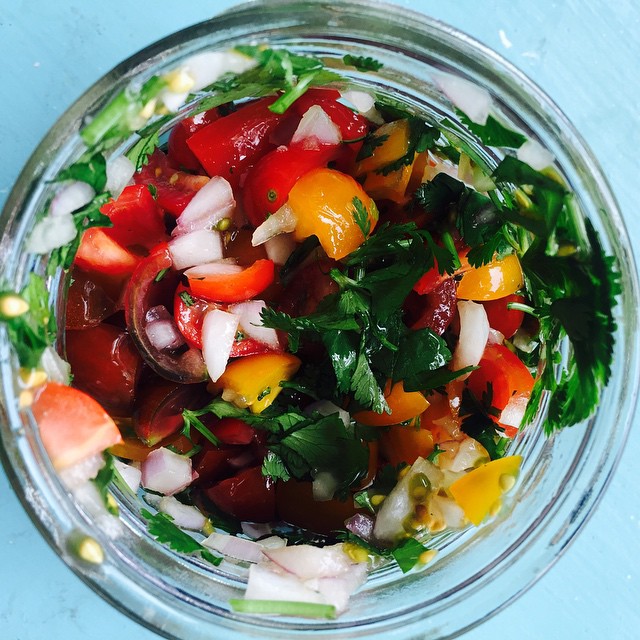
Day 2 of the #barre3challenge and I'm planning on having more of this awesome Pico de Gallo with lunch. This mornings class was perfectly challenging. Now to take on today's remaining challenges. (Read more about my challenge on the blog - link in profile

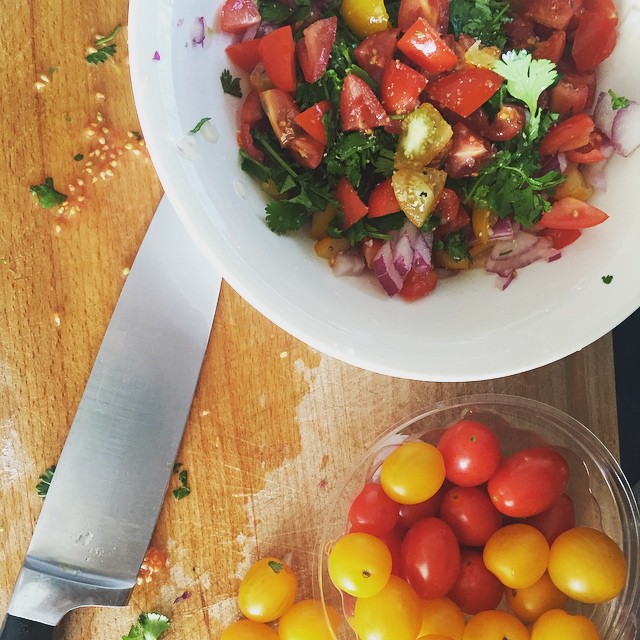
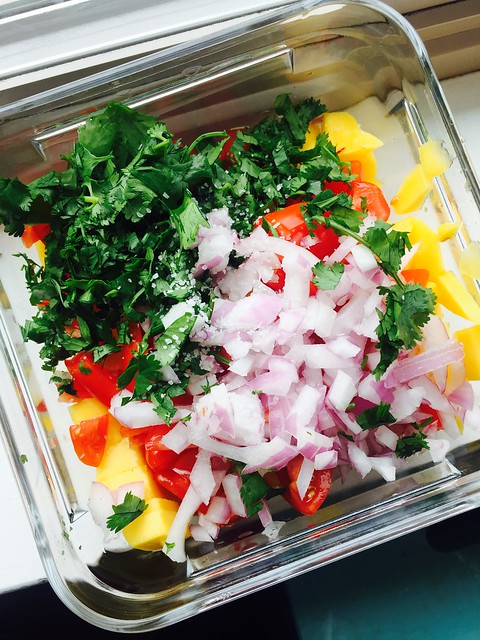
Summer has hit Seattle hard this week which has me scooping up mounds of Pico de Gallo. I love the simplicity of the flavors mixed with the sharp tang of the lime. I love making a big batch of this and adding it to everything throughout the week. I've also discovered that yes, while delicious with tortilla chips, Pico de Gallo is fantastic with vegetable crudites and way healthier that way. It also means I have ZERO guilt shoveling this in my mouth while watching the kids cool off in the pool in the backyard. 
Untitled

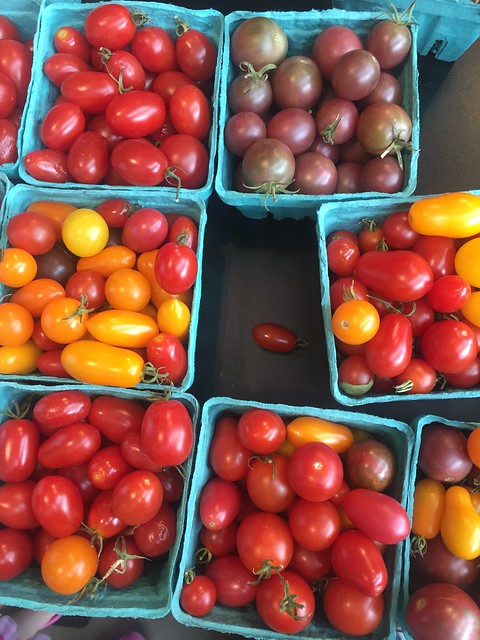
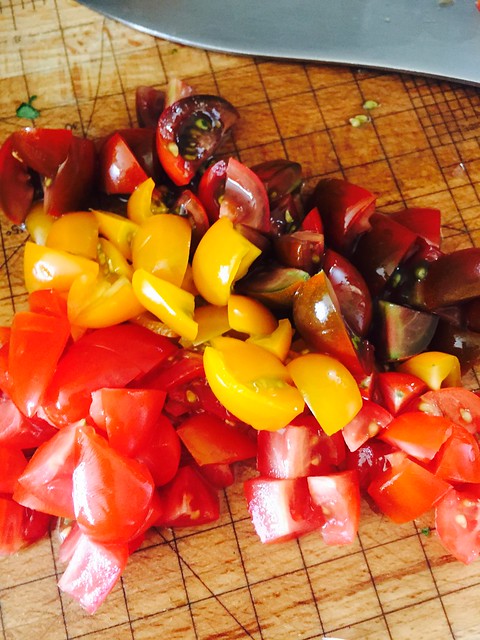
Tomatoes are one of my favorite foods and summer tomatoes are delicious. I'm especially into the cherry tomato varieties that come in a rainbow of colors. 
Day 22 #barre3challenge I am addicted to the Pico de Gallo (sans mangos) from week 1 and keep making it. So good!


This Pico de Gallo screams summer to me. I think it is the combination of summery flavors and the lovely tomatoes. Make a batch for your next backyard BBQ and watch your friends swoon over this. It's so simple but don't tell them that. Let them think you slaved over this creation for hours. 

Untitled


Pico de Gallo

Ingredients
2 cups cherry tomatoes, chopped
1/4 cup red onion, finely chopped
1/4 cup cilantro leaves, finely chopped
2 Tbs. fresh lime juice
1/4 tsp. coarse kosher salt

Directions

1. Mix everything together and let sit for at least 10 minutes before enjoying. Serve with vegetables for a healthier bang!


Untitled


Friday, January 15, 2016

Whole30 Egg Salad


I've been craving and egg salad sandwich for days. Days! I haven't had one in years and the last recipe I used called for delicious sour cream. Since I'm only halfway through my Whole30, I knew sour cream and bread would be no-go's so I decided to whip up my own egg salad recipe. It's not pretty but it is delicious! 


Whole30 Egg Salad
Servings 2-3

3 Hardboiled Eggs, chopped
2 Tablespoons Paleo Mayo
2 teaspoons dijon mustard
1 teaspoon harissa
1/4 cup chopped tomatoes
1/4 cup chopped kalamata olives
3 green onions, thinly sliced

Mix together in a bowl and enjoy over a bed of lettuce!


Thursday, September 10, 2015

One Hour Weekly Food Prep

b2s7

One of the food bloggers that I follow on Instagram recently mentioned that she likes to set a one hour time limit on her weekly food prep. I decided to try out this idea over the weekend. I often get wrapped up in prepping food for the week and end up in the kitchen for hours. I love being more efficient and getting ready for the week by prepping our food.

Untitled

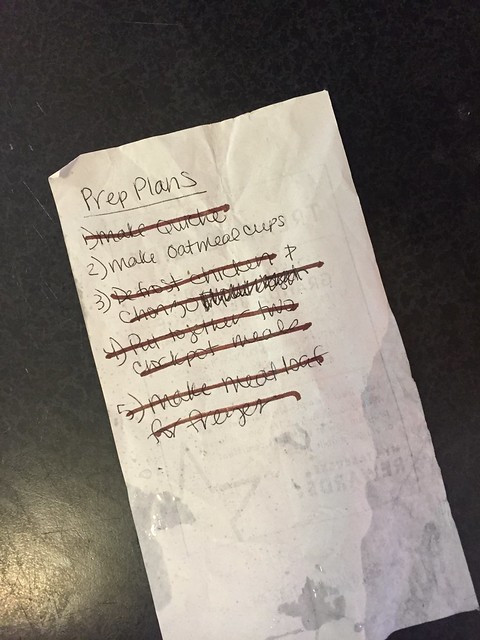
I wrote my list and my timer before getting to work. Scott and Molly were out at a movie. Maggie was supposed to be sleeping but decided to skip her nap. She made a great prep sous chef. 

Untitled

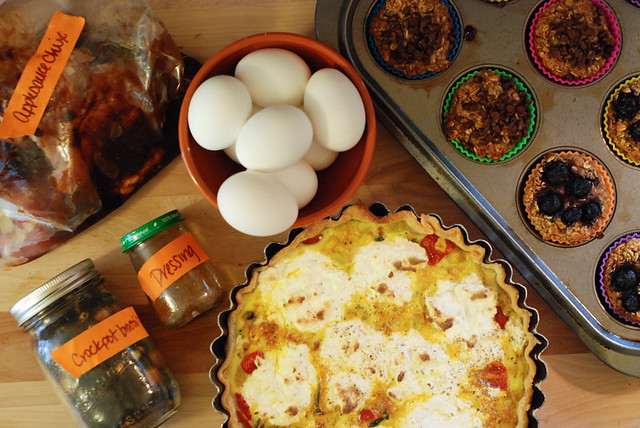
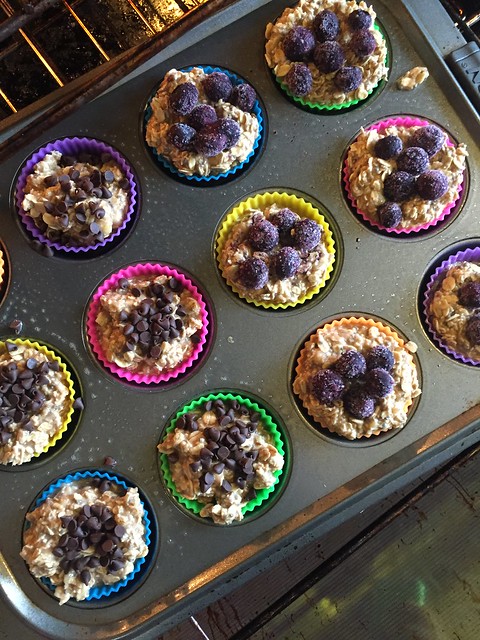
In the end, I prepped two crockpot meals for later in the week, made quiche for my lunches, whipped up some oatmeal cups for snacks, hardboiled eggs, made meatloaf and pulled out meat to defrost for the week. Right as I slid the oatmeal cups (the final item on my list) into the oven, my timer went off. Success! I was also thrilled that I was able to keep the kitchen clean throughout the process.

I plan on making this part of my weekly food prep. I can take an hour to get ahead every week and setting the timer meant that I needed to really focus. I'm now starting to think about other areas of my life that could be improved with focus and a strict time limit.
Friday, March 20, 2015

Coconut Lime Cilantro Rice

coconutlimerice1

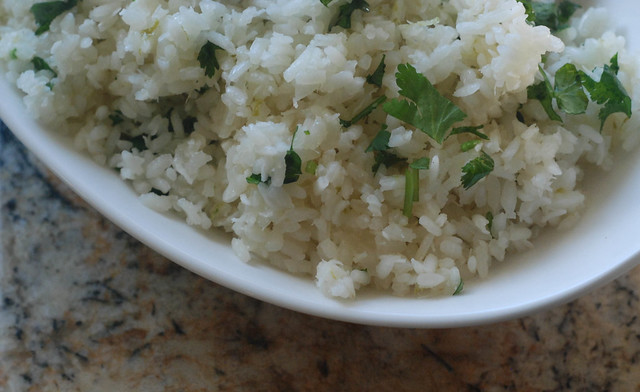
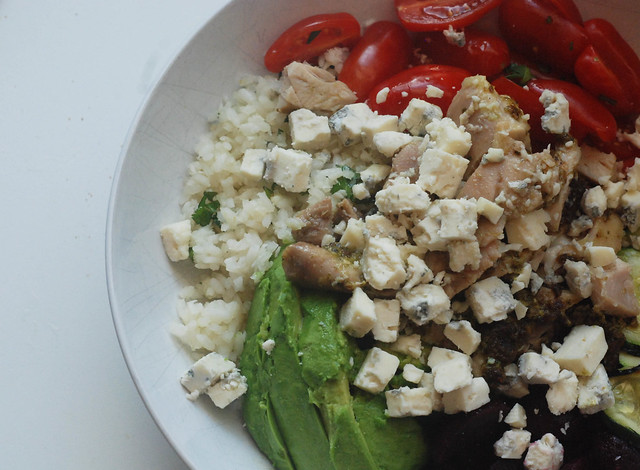
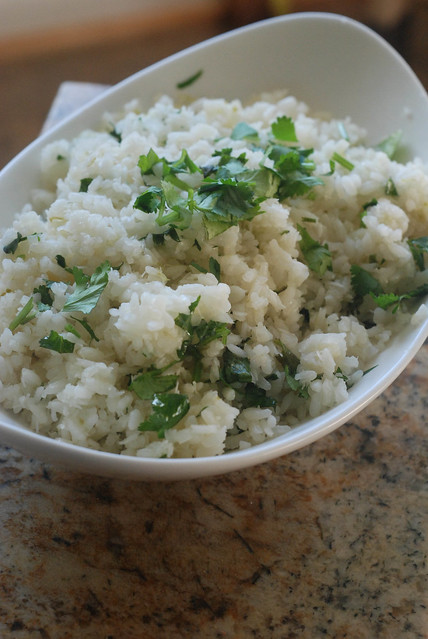
I've been making this rice for some time. It's super simple, yet packed full of flavor which in our house is a winner. I use this as side for most any meal. It pairs well with tacos, adds a punch to a chicken dish and is a show stopper in a rice bowl. I love making rice bowls for dinner. Everyone gets a bit of what they like and I feel good serving a dish packed full of veggies. 

ricebowl

This isn't a dish that one waxes on about for thousands and thousands of words but it is a dish that will quickly become a staple in your meal rotation. One can always leave out the cilantro if they find it soapy tasting but just know I feel sad for you because cilantro is one of the best herbs around. 

coconutlimerice4

Coconut Lime Cilantro Rice
by Rebecca Mongrain
Prep Time: 5 minutes
Cook Time: 60 minutes
Ingredients (6 cups)
  • 2 Cups dry rice
  • 1 Tablespoons Coconut Oil
  • 1/3 Cup Unsweetened Coconut Flakes
  • 1 Cup Coconut Milk
  • 2 Cups Chicken Stock
  • 2 Tablespoons Lime Juice
  • Zest of one Lime
  • 1/4 cup chopped Cilantro
Instructions
Mix everything but the cilantro in a rice cooker and cook for 60 minutes.
Once the rice is cooked through, add the chopped cilantro to the rice. Mix well.
Powered by Recipage

Friday, March 13, 2015

Sweet Potato Black Bean Enchiladas

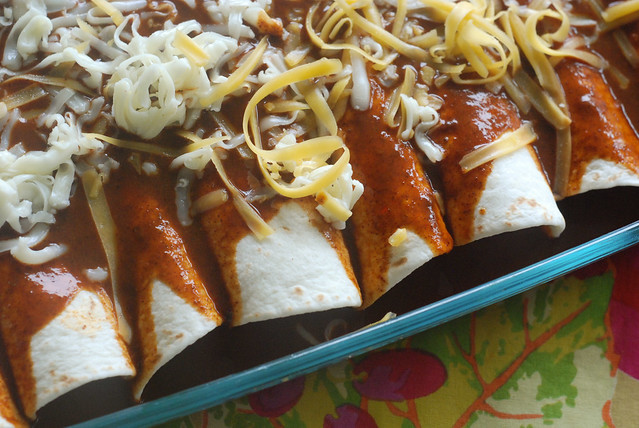
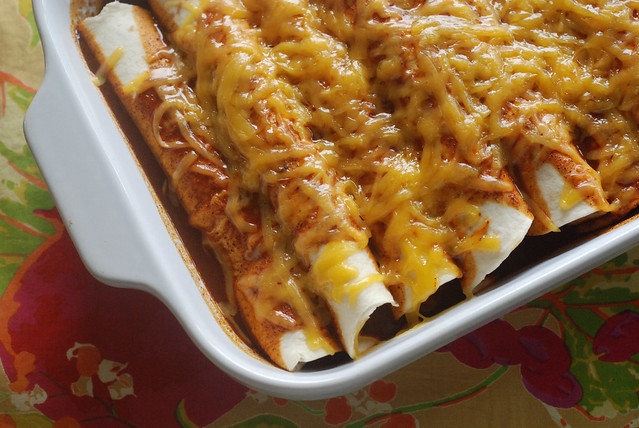
enchiladass[

It seems a rash of babies are being born again and with that comes meal trains. I love making meals for new parents. It's my way of helping usher in that tiny new life while supporting their tired parents.


ingredients

Today I brought these delicious sweet potato black bean enchiladas to a family in Molly's co-op class. They welcomed a brand, new baby girl last week. Molly's little friend is adjusting well to his new sister but dinner is always a welcome way to help those good feelings last. In addition to these enchiladas, I sent along some coconut, lime rice and rice crispy treats along with a bag full of snacks of the three year old big brother. Three year olds are notorious for not enjoying good, homemade food so I packed up some of Molly's favorite snacks in case these enchiladas did not hit the spot.


enchilada dinner

However I can say that these enchiladas really hit the spot. I highly recommend making your own enchilada sauce using Gimme Some Oven's recipe. This stuff is good, easy and cheap! 

Sweet Potato Black Bean Enchiladas
by Rebecca Mongrain
Prep Time: 30 minutes
Cook Time: 20 minutes
Ingredients (8 enchiladas)
  • 1 Tablespoon vegetable oil
  • 1/2 cup diced onions
  • 1/4 cup diced green chilies (canned)
  • 1 cup sweet potato puree
  • 1 (15.5 ounce) can black beans, rinsed and drained
  • 1 cup corn
  • 1/2 cup diced onions
  • 8 flour tortillas
  • 2 cups cheddar cheese
  • 2 cups red enchilada sauce (see note)
Instructions
Preheat your oven to 350 degrees F.
Prepare enchilada sauce, if you are making your own. I highly suggest making your own enchilada sauce using the recipe from Gimme Some Oven (http://www.gimmesomeoven.com/red-enchilada-sauce/). It's the best I've ever had.
In a large cast iron skillet, heat oil over medium heat. Add diced onion and cook until soft, approximately 2-3 minutes. Add green chilies and corn. Saute for 5 minutes, until corn is heated through. Add the black beans and set aside
Put together your enchiladas using an assembly line system from tortillas, enchilada sauce, sweet potato puree, bean mixture and cheese. Place down the tortilla and spread a few tablespoons of enchilada sauce over the tortilla. Add sweet potato puree and beans before topping with cheese. Roll up and place in a greased 9 x 13-inch baking dish. Repeat with the remaining 7 tortillas. Top with the remaining enchilada sauce and shredded cheese.
Bake uncovered for 20 minutes. Remove from oven and serve immediately with avocado and sour cream, if desired.
Powered by Recipage
bakedenchiladas
 
Rebecca Mongrain's Blog © 2013.

Design by The Blog Boat