
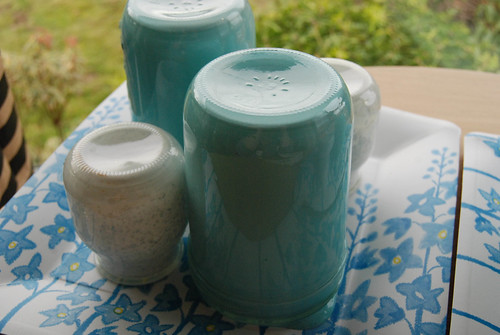
When I stumbled upon these fun glass jars filled with glitter and color, I knew they would be a perfect accessory for the guest bathroom (never mind that it still needs a new toilet and floor and that the rest of the room needs to be dry walled, never mind those pesky little details!).

I also gathered a few yogurt jars I had from my honeymoon in Paris (why yes, I carried some empty yogurt jars home from France. It's completely normal to do that.) so I decided to glitter paint them.
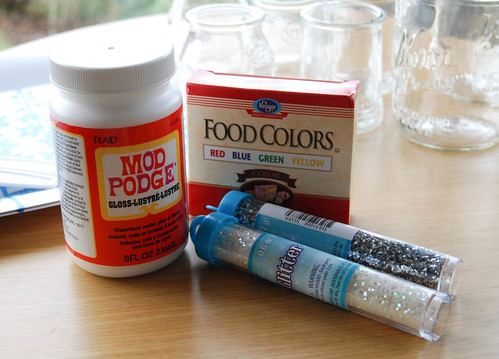
I got together the Mod Podge, food coloring and glitter along with some plastic knives and paper plates and set to work.
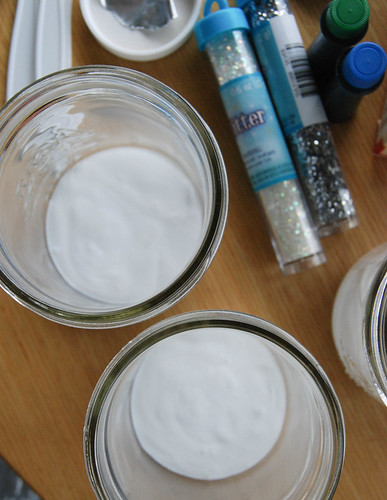
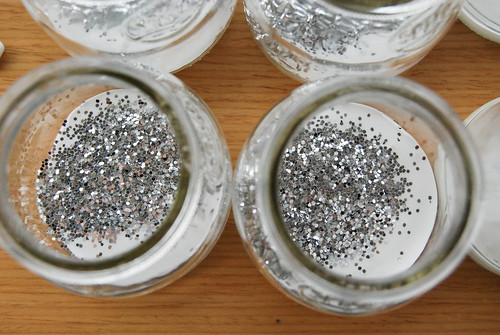
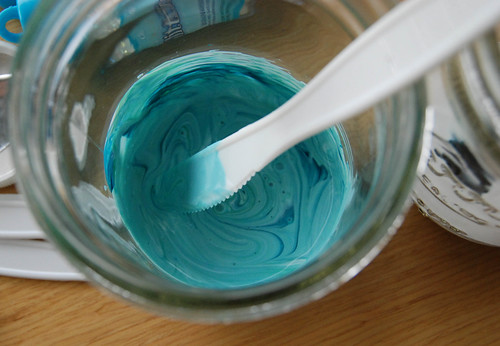
Following the directions from Lily Shop's Blog, I poured about an inch of Mod Podge into the jars and then added either the food coloring or the glitter. Using my plastic knife, I stirred them before slowly rolling the jars to allow the Mod Podge to work it's way down the jar.
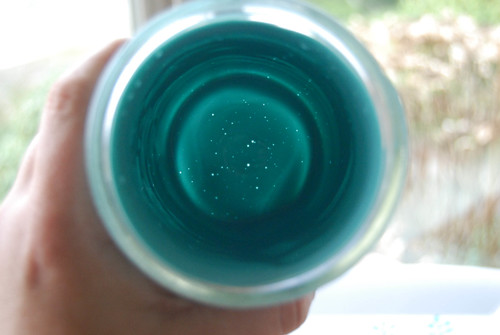
Once the entire inside of the jar was covered, I placed them upside down on the paper plates. I left them for 24 hours and then checked to see if they were dry. The directions said they could take up to 48 hours to dry. And I'd show you the finished product but after 48 hours, they were still wet so they are drying very slowly. Seattle is a wet, humid place in the winter and I guess things take longer to dry here.
This was a fun and EASY project with a big bang for a finish! I now want to make the Spray Painted Mason Jars! No jar will be safe in this house!


2 comments:
Super cute! But I think they need way longer than 48 hours to dry/cure. When I made some this summer in my DIY dinner party/craft class at Delancey, they told us to let them cure for like two weeks.
Amanda! I believe you because the jars are just now barely dried and could use a lot more curing time.
Post a Comment